Pavement Markings
Paving the Way to a Sensible and Clearly Communicated Layout
Find the right pavement marking signs, stencils, directional cues, and safety solutions to apply in parking lots, garages, or at road construction sites. We offer self-adhesive permanent and temporary pavement markings, as well as pavement stencils that allow you to paint custom arrows and lettering to direct vehicle or pedestrian traffic and reserve parking spaces. Choose from road marking tapes, parking lot striping, pavement signs, and road reflectors for better parking area organization and improved traffic flow. Boost visibility and safety in construction areas or busy parking lots with reflective and non-slip pavement markings and parking lot signs that feature easy-to-spot graphics and clear text instructions for drivers, pedestrians, and customers.
The Best Sample Offer on the Market
Other companies will give you a PIECE of tape to test out. We're prepared to give all qualified inquiries an entire 100 FOOT ROLL! Want to know how to get your free roll of floor tape? Call us today for details. Or leave us a call back number and we'll reach out to you at the best possible time.
Call for details: (866) 284-1541 Request a Call Back


Not sure what you need?
Check out this quick guide that breaks down all of the necessary parts to constructing a safe and organized parking lot layout. Complete with suggested products.
Learn more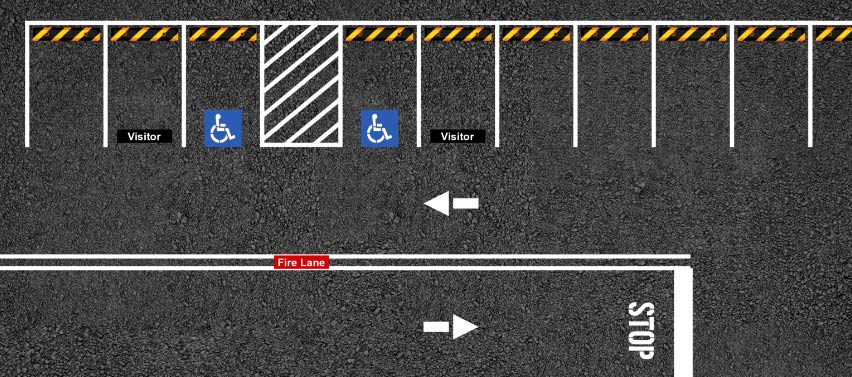
What Types of Pavement Markings Are Available?
We offer pavement marking tape, shapes, and signs to suit a variety of location and communication needs, including:
- Temporary, removable pavement marking tape rolls
- Permanent pavement marking signs and tape rolls
- Road striping and highway tape
- Pre-cut self-adhesive numbers, letters, and shapes
- Parking lot or garage lines and signage
- Rumble strips
- Raised pavement markers
- Plastic and ceramic road reflectors
- ADA handicap pavement marking signs
- Crosswalk markings
Why Use Pavement Marking Tape?
Pavement marking tape is ideal for creating road surface markings because it requires very little downtime for installation, and parking lots and roadways can open to traffic immediately after installation. When markings must change, pavement marking tape can be removed without the need for machinery or sandblasting for a quicker process.
How Do You Mark Road Surfaces and Parking Lots?
Pre-cut self-adhesive pavement markings and pavement marking signs can be applied quickly and easily in parking lots and garages—no special painting equipment or tools required. These pavement markings are thicker and more durable than painted lines, so they withstand traffic and inclement weather conditions. Parking lot and road surface markings include directional cues—including arrows and traffic flow instructions—as well as temporary pavement marking tape and raised markers to create visual cues during road maintenance. Our custom parking lot graphics include pressure-sensitive adhesive backing for easy application.
How to Apply Self-Adhesive Pavement Marking Tape and Signs
Always use a small sample piece to test pavement marking adhesion prior to full installation. Pavement marking tape should be applied to undamaged surfaces—pavement markings cannot be installed across seams or joints or over deteriorating markings as the tape may de-bond. For proper application, use butt splices to connect lines, and allow a one-inch gap on either side of seams or cracks in the pavement.
When installing self-adhesive pavement markings, ensure the air and surface temperature is 50 degrees F (10 degrees C) or above and that the paved surface is completely dry, then follow these steps for easy application:
- Sweep or air-blast to remove debris, and ensure there are no contaminants such as oil, grease, sand, dirt, or salt in the application area.
- Measure and mark your intended installation location using your adhesive-backed marking as a guide.
- Apply primer to the surface and roll evenly, extending one inch on all sides beyond the intended marking area. Primer is ready when cobweb-like strings begin to appear while you roll. At this point, stop rolling and allow the primer to dry. Check after three to five minutes—primer is ready when tacky to the touch.
- Peel the backing from only one corner of the pavement marking, then align with the corresponding marked area. Press to stick, then slowly peel the backing away. Press the marking to the pavement as you remove the backing. Work carefully: The markings cannot be repositioned once applied.
- Firmly tamp the pavement markings using a tamper device with a load of at least 200 pounds—tamp with a minimum of three passes total. Do not twist the tamping device during tamping.
- After tamping, the location may be re-opened to traffic, no dry time required.

Download your free Floor Marking Catalog
With this catalog you'll find exactly what you're looking for to make your facility a safer work environment. You'll also learn more about each product and the options that they come in.
Get Your Free Catalog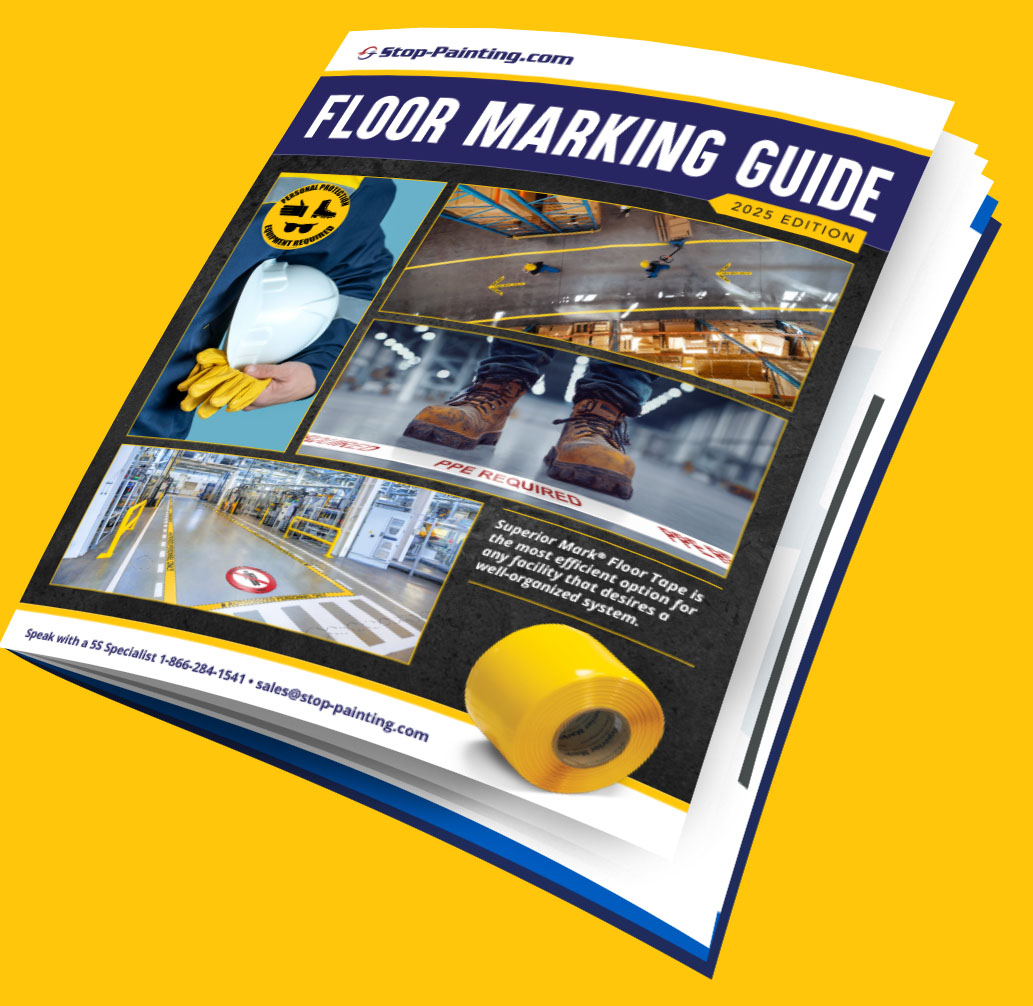
Download your free Floor Marking Guide
Our Floor Marking Guide covers best practices, provides floor tape application tips, and offers solutions for a safer, more efficient industrial facility or work floor.
Get Your Free Guide